Site
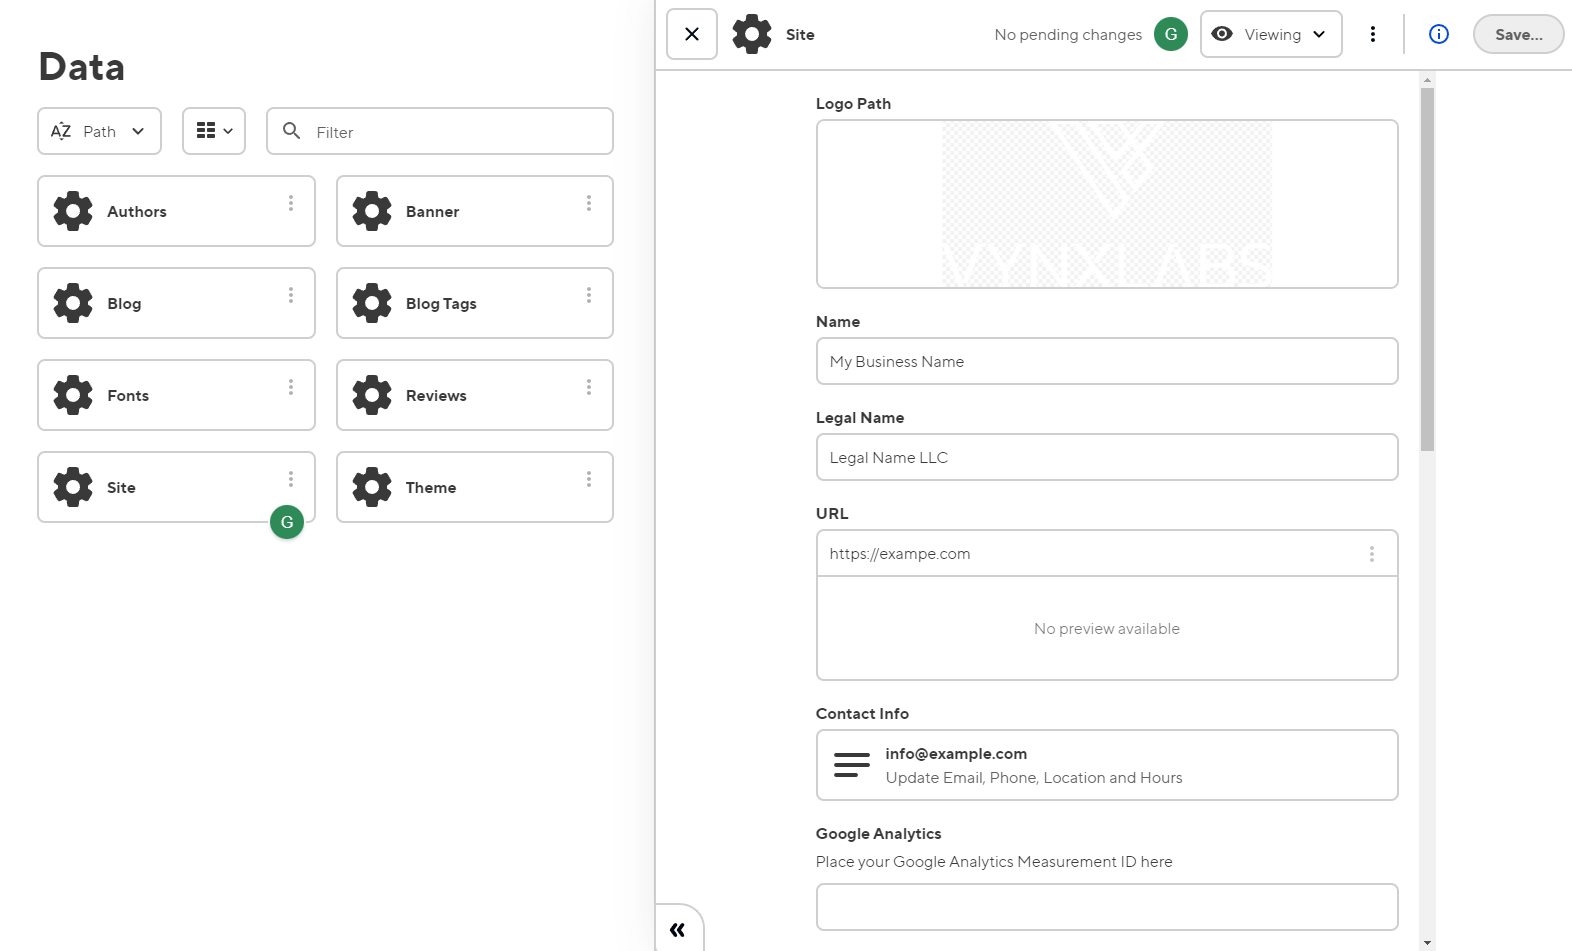
This file is where you will set up your main website configuration. Lets go into each option
#Logo
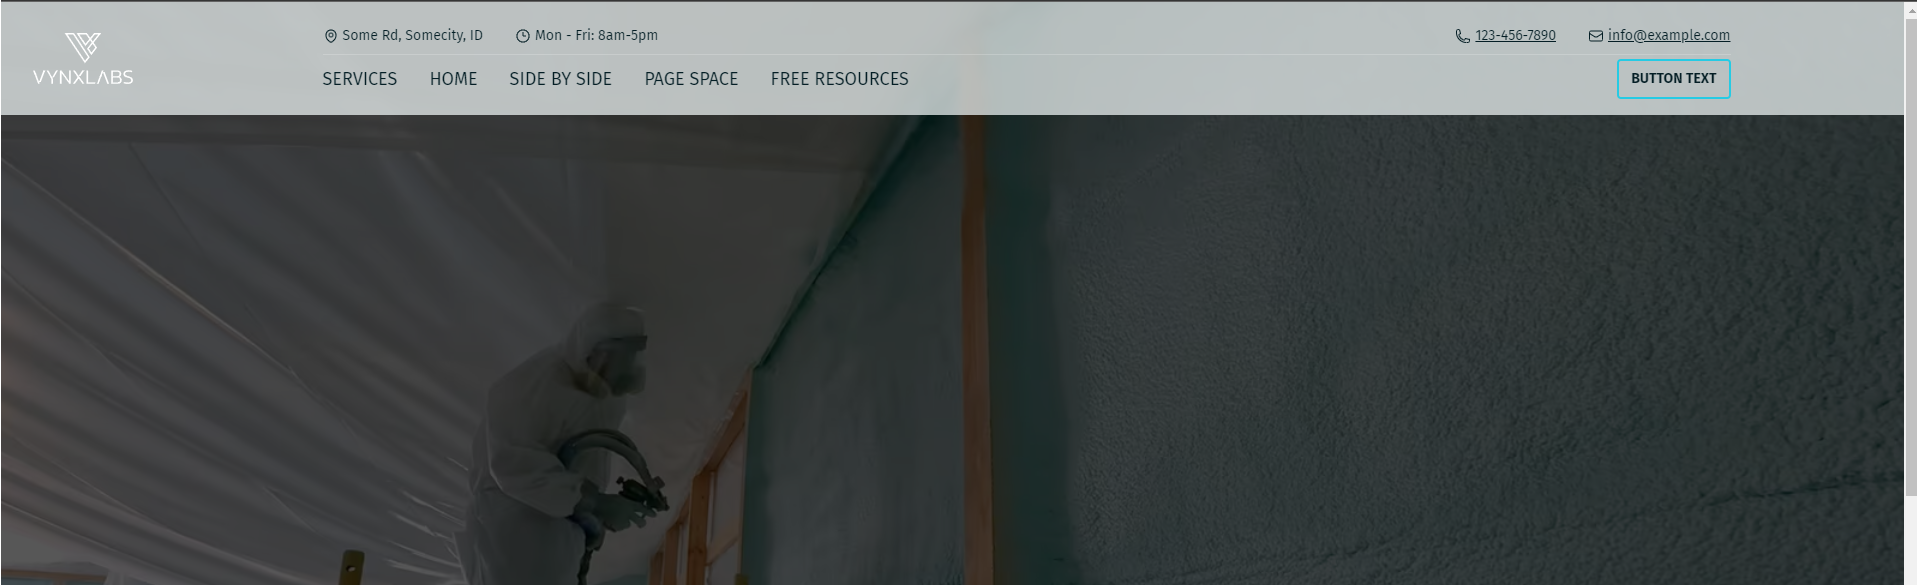
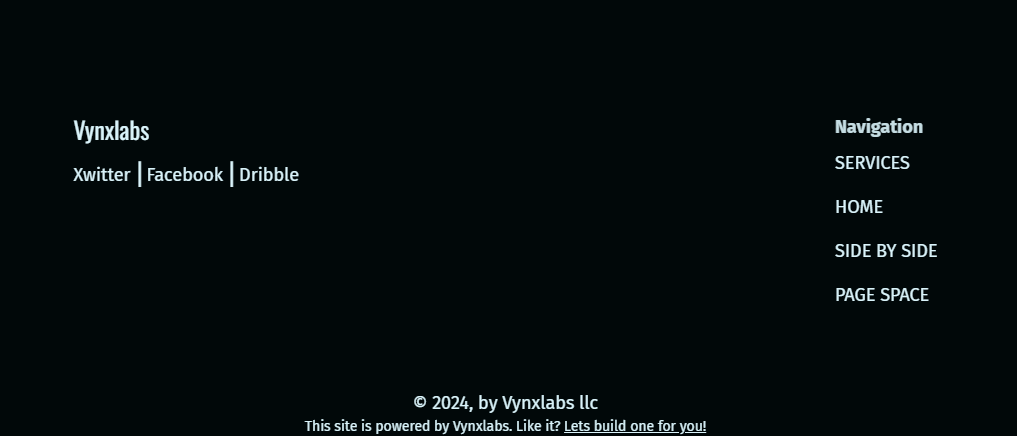
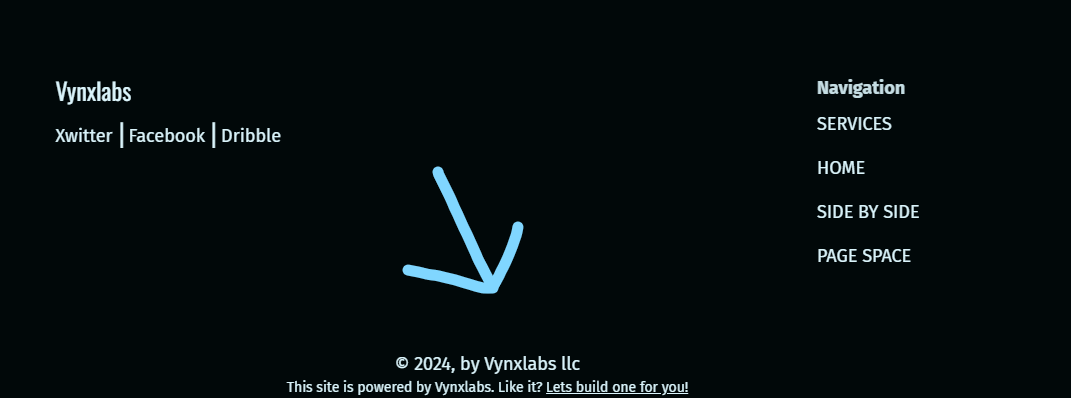
The logo image to be used on the top left part of the navigation and in the footer. See the images below for examples
Top navigation:
Footer:

If you have no logo yet, that is fine! You can leave this blank and your business Name will be used instead.
Name
This is where you business name goes. This could be your legal name, a shortened version of your business name that your community knows you by, or a legal doing business as name.
This name will be used instead of a logo if you don't provide a logo.

Legal Name
Now here is where you full legal name should be placed. This only used as needed on the website. The most obvious example of this being used is the copyright notice at the bottom of the website.
URL
This is where you will place your websites live link. This piece of information is primarily used for creating your sitemap. A sitemap is how google finds the pages on your website and thus it is crucial that this be your real website URL (website link)
Contact Info
Here is where you can set up your
- Phone number
- Location
- Hours
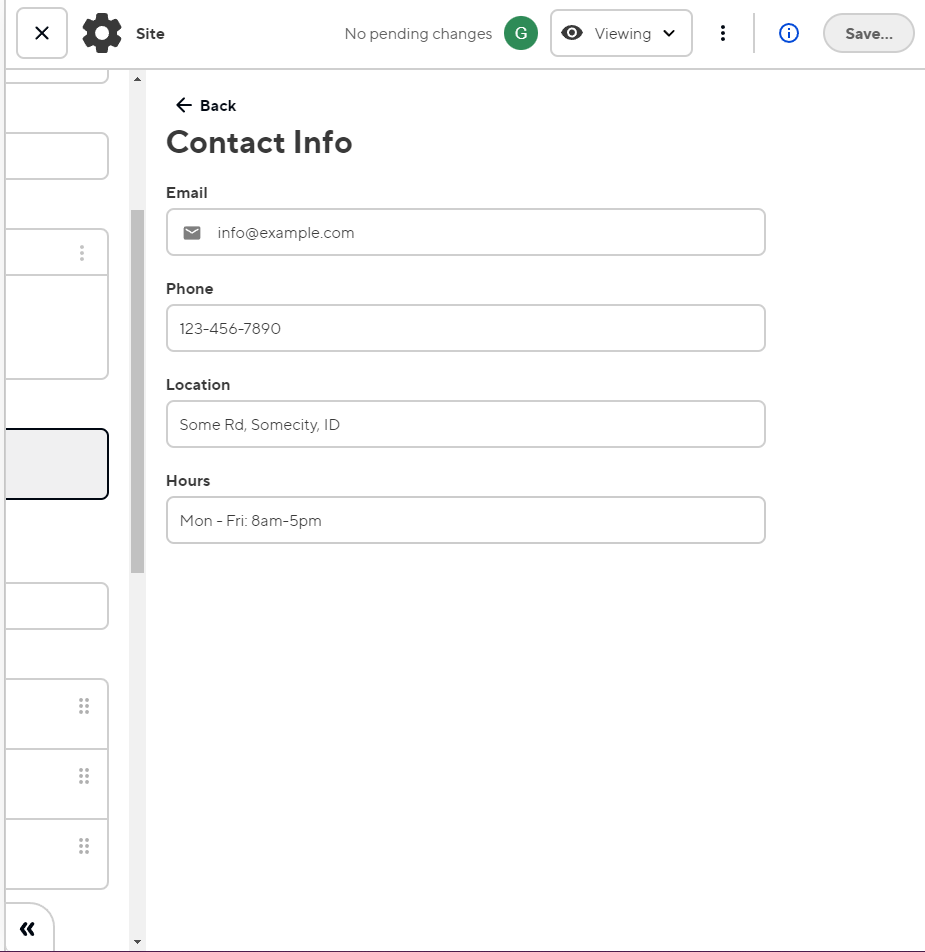
If you don't want to include one or many of these pieces of information, all you need to do is clear out the field.
The Email and Phone fields are self explanatory. They are set up to work with only emails and Phone numbers. Placing incorrect information into these fields will cause this contact information to break anywhere it is used on the site, such as the main navigation.
Location and Hours can be up for interpretation. If you don't have provide your services at a physical building, you could instead set your location as the area that you serve, such as "Serving Magic Valley" The same goes for Hours. Perhaps you don't have a set hour schedule and do appointments instead. You could set the Hours to "By appointment"
Social Media Links
This is what you use to link out to your social media profiles. The most noticeable place where these will show up is in the footer.

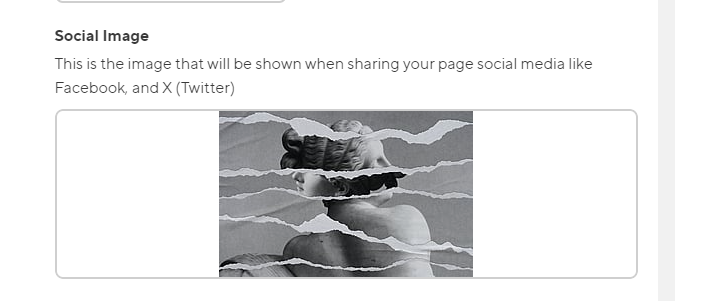
Social Image
The social image that you select is the image that will be shown on platforms that support the Open Graph protocol. Simply put, it is the image that will be shown when people link out to your website on platforms that support it. Notable platforms that support this are Facebook, Instagram, X (twitter) and many others.
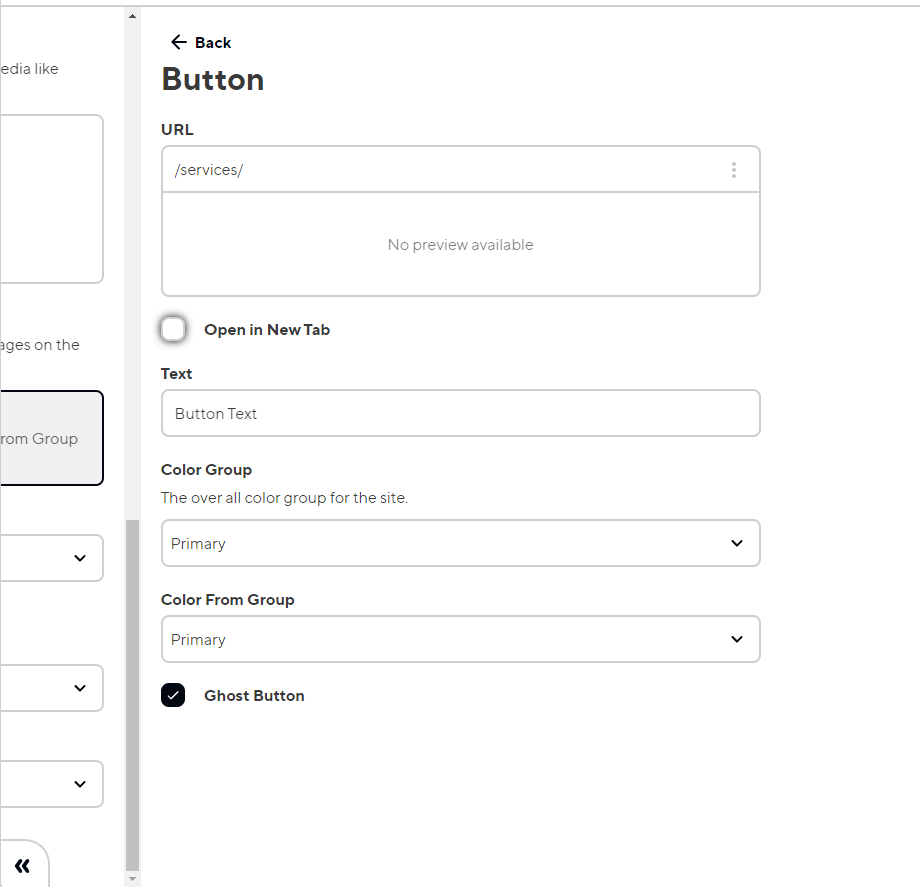
Button
This is the button that will show up on your navigation. This button should use as the primary Call to Action (what you want your website visitors to do). Some common examples would be "Contact us," "Sign Up," "Call Now," "Send us a message," etc.
Color Groups
Lastly we have the color group options. This is where you choose the colors of the three main overall sections of your website. The main colors from each group that will be used for these options are the background color and the text color.
💡**NOTE:
**These colors will affect every single page, they are applied across the entire website.
Nav Color Group
This sets what the navigation colors should be. This color group is slightly different from the rest as it will also use the accent color from group as the underline that signifies the current page in the navigation

Color Group
This is the main color group that will be used for the body (everything between the navigation and footer) of the website. This especially effects blog post pages.
Footer Color Group
The color group for the footer.